One of my favorite lessons to teach students (and not to be limited to elementary age children - a good warm up exercise for older kids and adults as well).
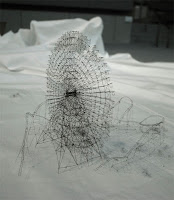
Blind contour = drawing while eyes are on the model/subject (never looking at the drawing being made) and pencil maintains contact with the paper. One fluid line. Could be thought of as creating a drawing using one piece of wire (which may be why I like to use Alexander Calder's work as an example - more about this in February 5th post). Best to draw slowly and to have the hand keep pace with the eyes as the subject is searched for defining shapes to outline.
Subject could be anything from a vase of flowers, a shoe (the grade school age kids think it is funny to take one of their shoes off during class to draw it), a hand, or the face of the student seated across the table.
Suggested materials:
- White crayon on white watercolor paper. Good for preventing students from looking at the drawing as it is difficult to see white on white. When drawing is complete, brush over with a black (or other dark color) watercolor wash. Disadvantage: Students may not press hard enough with the crayon to provide enough wax on the paper that will act as a resist.
- 2B pencil on drawing paper. For younger children, helpful to put small paper plate at the top of the pencil (create a hole in the center of the plate, push pencil through until plate reaches the end with eraser). The plate will obstruct the view of the drawing.
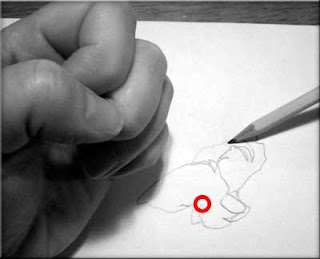 |
Blind contour drawing in progress. Red circle on drawing
indicates the starting point |
Usually 5-10 minutes per sketch is sufficient. Emphasize the draw slowly and to concentrate on the model. I find it helps to also stress this is only an exercise, not a final piece (i.e., don't worry about making "mistakes"). Remind them to look for shapes within (for instance with the hand, to draw the lines of the knuckles, include fingernails, etc).
I suggest doing 3-4 drawings then move on to
Contour drawing.
 |
| Blind contour drawing. |
What is the purpose of drawing this way? It trains the eye and forces you to look without worrying about the drawing itself. Especially when working with ages 7-12 - students in this group tend to obsess about whether the drawing looks realistic. The object is to get them to try to see spatial relationships and shapes they may have missed before.
Contour drawing = As with Blind Contour above, the pencil never leaves the paper but one is allowed to glance from the drawing to the subject occasionally.
Suggested materials:

- Fine line black ink marker on vellum.
- 2B pencil on paper of choice
- Aquarelle (water soluble pencils), watercolor paper, cotton swab, water.
I like to have the students do portraits of their classmates (be sure to mention it is the face only otherwise they may try to draw the entire figure) for the contour exercise but any object that has an interesting shape will work (at right, contour shoe drawing by Sam (age 7)).
* If time allows, try having students do a contour drawing with his/her non dominant hand. Often will see better results when using the other hand (i.e. right handed drawing with left instead) - just remember, draw slowly. *
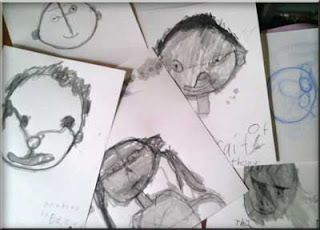 |
Contour drawings by 2nd grade class using aquarelle pencils on
watercolor paper. |
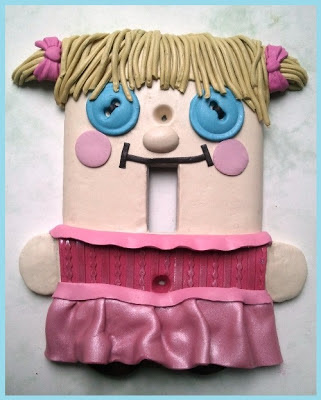
 My son, Ernie, gave me a sketch this morning and suggested it would make a great earring design - and then asked if he could make money from the sale if I used the design based on his drawing.


.jpg)
.jpg)


